THIS is bullshit. Manufacturers of hardware have had months and months to get Windows 8 drivers for their products sorted out. I am a proud owner of a Focusrite Saffire Pro 24DSP, it has been my workhorse for around 2 years now, I had to buy it when my last card, an EDIROL DA-2496 was passed by for 64bit drivers when I went to Windows 7, now there exists the potential for the same to happen again with my new-ish Focusrite! I can only hope that they will get their act together and develop a driver and save me from throwing yet another piece of hardware in the bin!
Great ad, technical fail.
I’ve seen this ad once on TV. I love it, great tune and cleverly down using a turntable. But there is one big problem, the turntable is spinning the wrong way! I suppose that if you want to lick the record with your tough like this then it has to spin this way, only a minor problem!
Studio Session
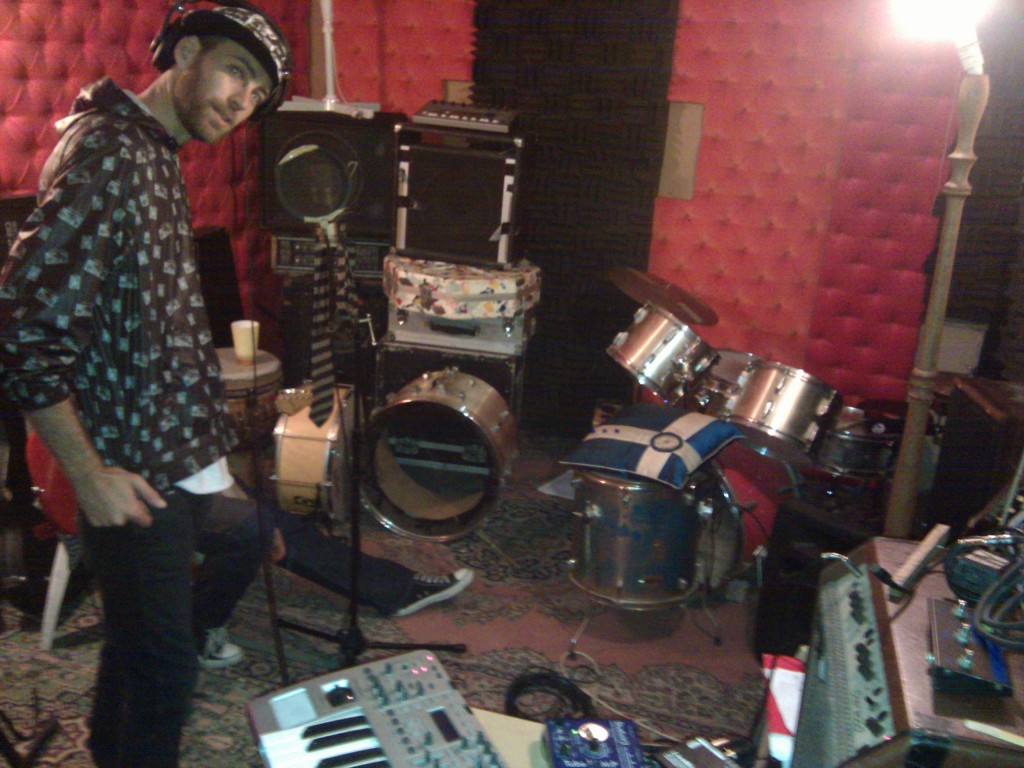
Over the weekend I got to work in another studio. When I say studio I just mean a small room with some instruments in it, it really was just a practice studio. But these days you can really make a studio wherever you have a laptop and a soundcard. This room was cool I suppose, fairly well sound proofed and lots of instruments just lying around, including a Roland XP-80 and an X-Station 25… which I made use of. There where also many, many other pieces of old gear lying around including a big pile of jumbled cables and a drum kit with heads that where way to lose and gave me a headache!
Supporting Sala Bai
As part of my business, I’m helping these guys out tonight at a charity wine auction. I was asked to put together a DVD containing some video that was shot around the homes of the Sala Bai students, there are also some stills and thank you slides amongst it all, the package has come out quite well and both the client and I are very happy with it. The vision will be used for a presentation and talk that will be given by one of the stakeholders of the school. The event will be held at the Manly Quarantine Station, which is a really nice location. It should be a fun night, and all for a good cause!
‘Party Of The Decade’, it’s a banging house mix!
Another new house mix for you to pump! This is more-or-less the set I played on the weekend at my mates birthday party, there are a few tracks at the end that I changed because I wanted to have more recent tracks. No gimiks, themes or fancy pants stuff with this mix, just the best tracks that are around at the moment… enjoy… and as always you can download the mp3 HERE
Video Conferencing to Alaska!
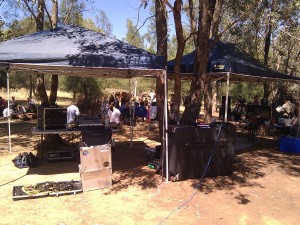
Some of you may have noticed this photo on my Facebook stream earlier in the day. It’s a shot of the production setup for a video conferencing shoot that I was working on through my business. I have been working with the New South Wales Department of Education to deliver video conferences into schools around the state and overseas, of-course I am the sound tech. This is a very challenging job, because the sound is not straight forward. At a shoot like this I am expected to keep track of the front of house levels and levels to at least three other Aux’s, I need to monitor them all myself and make sure that there is no feedback at front of house. The feeds are all different and I have to be careful not so send the output of the Video Conferencing codec back into itself, which would cause serious feedback to the listeners on the far end. But the most challenging thing is the unknowns at the remote end, often they are school teachers with little technical knowledge and many of the setups are different, which means the sound feeds are usually all very different and I have to compensate with compression and clever fader movements. This is the second job like this I have done with them and there are still a few glitches to iron out, it’s close, but still a few things to sort out before we get it 100% right….. I love a challenge like this.
What The Hell Is a Shellac Record?
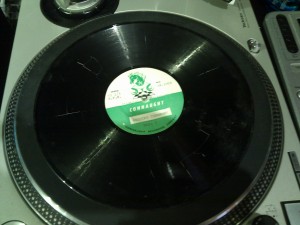
I am a music fanatic and at my store I own, all the way from the best all in one record players from https://turntable.guide to the gramophone and the latest technology. A client rang me last week and asked if I could convert a few records onto a CD for her, sure I said, sounds easy! Wrong!!! What she brought me was a couple of Shellac records from the 1930’s. Shellac is a resin that is used to coat a substrate, either ceramic or aluminium. The Shellac is very soft and can be cut very easily to form the groove for playback, but the problem is that it has a limited shelf life and after a time if it is not stored properly the Shellac will chip and flake. That is exactly what has happened to these records. The other problem is that Shellac cannot be cleaned using conventinal Ethonal based cleaners, since the Shellac will dissolve to make liquid Shellac which is not much good for playing back music! Take a look at the picture and you will see what I am dealing with. One of the records will play, although it does have signs of some cracks starting, but the other record has major damage and cracking. I will be able to play some parts of it but I will have to stick it all back together in Wavelab and do some serious de-crackling and de-poping, thankfully it is just a simple voice recording so I should be able to get real aggressive with the settings. Will keep you posted…
Steve Reaver On Discogs
Turns out I have a Discogs artist page, trouble is that across all the releases that I have had my artist name was never consistent. Sometime it was just ‘Reaver‘ sometimes ‘DJ Reaver‘ and more recently ‘Steve Reaver‘, my real name is even used on one of them… But I’ll leave that to you to figure out. This means that not everything is listed in the one place, and to make things more confussing there seems to be another artists called ‘DJ Reaver‘… guess I’ll have to get in and fix it all up…. I’ve also been using Discogs to catalog my record collection, I have a system where-by as I convert each record to mp3 I add it to my collection in Discogs, and I add to the meta data of the mp3 the link to the release details. Iit’s great because I can have all the records details at my finger tips as I play or use the mp3….. ahhh the interwebs, how I love you!
Best Remix Ever ?
Another quick post today, as I’ve had many things to do and playing at a party tonight, so I was working in the studio all day… yeah, nothing unusual….! I love this remix, I think it could be the best remix ever! until the next one comes out 😎 … and for those of you coming to the party tonight… consider it a warm up…!!
Playing on Ravers Paradise…soon…
Last night I logged into Ravers Paradise, created myself and account and had a listen to what was playing. It just happened to be a DJ friend of mine, DJ Shade banging out some excellent Old Skool tunes. I like the site and enjoyed the time I spent there. There are interactive pages and you can listen to the stream as you interact with the tools and forums. Although, some of the site code does need a little bit of work in relation to general tidiness, it doesn’t matter though because it all seems to work.
As it turns out after I was on the site for only a few minutes and chatting to Commodore, one of the site admins, he set me up as a DJ and pointed me towards the info for setting up the stream so I can play a set! Wow! So it looks like very soon I will be banging out a set on Ravers Paradise, can’t wait! So get set, go create your login and get ready for something special….


